
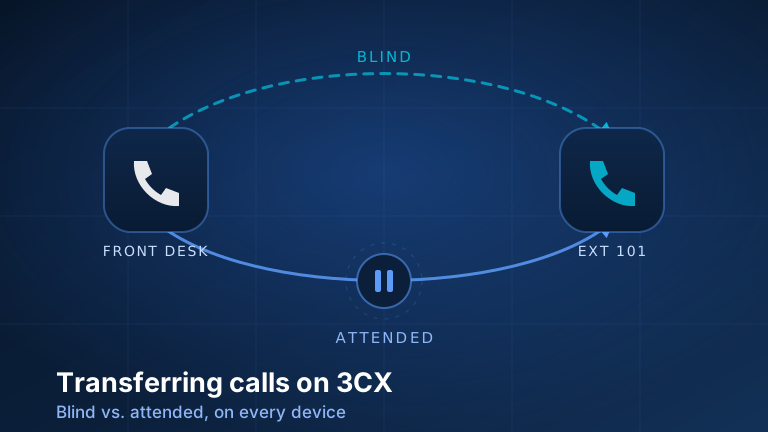
There are two ways to transfer a call in 3CX. A blind transfer sends the caller away immediately: two button presses and they are gone, ringing at the destination, with no warning to whoever picks up. An attended transfer (often called a warm transfer) keeps the caller on hold while you call the destination yourself, say who is holding, and only then connect the two. Nobody at a front desk uses those words. What people say is “I want to announce the caller first” (attended) or “it just sends them away” (blind).
If you remember one thing here, remember the five steps we type into roughly fifteen support tickets a year, word for word: press Transfer → choose Attended → dial the extension → wait for them to answer and say who is holding → press the button that joins the two calls. That is an announced transfer on every device 3CX ships. Only the button names change, and that is the rest of this article.
Which one to use
Use attended when the transfer might not be wanted (a cold sales call, an angry customer, anything where the person picking up deserves a heads-up) or when you are unsure the destination is at their desk.
Use blind when the destination is obvious and expected, such as a caller who asked for Accounting by name. It is faster and frees your line at once, which matters when you are the only person answering.
One correction we make constantly: attended is not the risky one. If the destination does not answer or refuses, hang up the second call, press Resume, and you have your caller back. Blind is the risky transfer: once you press the key the call is out of your hands.
The matrix: every device, every transfer
This is the part clients ask us to standardise. One office we support had staff doing the same job on desk phones, browsers and mobiles, and every training session collapsed into “but my screen doesn’t say that.” It does. It just says it shorter.
Yealink T5x desk phones (T54W, T46U and family)
To transfer a call on a Yealink phone, everything starts with the Transfer key. On the T5x range, pressing Transfer puts your caller on hold immediately, before you have dialled anything. That is expected, not a fault, and it is why they hear hold music the moment you start.
| Transfer type | Exact key presses |
|---|---|
| Blind | Transfer → dial the extension → B Transfer |
| Attended | Transfer → dial the extension → OK (or Send) to call them → they answer, you announce → Transfer again |
| Semi-attended | Transfer → dial the extension → OK → press Transfer as soon as you hear ringing, without waiting for an answer |
| Abort, take the caller back | Hang up the second call → Resume |
On smaller-screen Yealinks such as the T33 series the softkeys abbreviate to Trans and B Trans. The sequence is identical.
Web client and Windows app
The browser client and the Windows app share a call toolbar, so staff who use both build the same muscle memory. The labels give it away: a bare Transfer is blind, Att. Transfer is attended.
| Transfer type | Exact clicks |
|---|---|
| Blind | Transfer → type the name, extension or number → pick the match |
| Attended | Att. Transfer → type the name, extension or number → caller goes on hold while you announce → Join |
| Abort | End the second call; your original caller is still on hold, ready to resume |
iOS and Android apps
On mobile, both types hide one tap deeper, behind a single Transfer button. This is the biggest single source of “my phone doesn’t have attended transfer” tickets. It does; tap Transfer and the choice appears.
| App | Blind | Attended |
|---|---|---|
| Android | Transfer → Blind → pick the contact | Transfer → Attended → pick the contact → announce → Join |
| iOS | Transfer → Blind Transfer → pick the contact | Transfer → Att. Transfer → pick the contact → announce → confirm to connect them |
Mobile labels drift between app releases more than desk phone softkeys do. If a button reads differently on your build, the order of operations is unchanged; our support desk can confirm the wording on your version.
Sending a caller straight to someone’s voicemail
“Send them straight to Jim’s voicemail” is a transfer like any other: you transfer to a dial code instead of to Jim. The default code on 3CX is *4 followed by the extension number, so extension 100’s box is *4100. Do it blind: Transfer, dial *4100, B Transfer. Jim’s phone never rings and the caller hears his greeting.
Two cautions. That *4 is the factory default and it is editable (dial codes live in the Admin Console under System, then Dial Codes), so a system customised over the years may not use it. Confirm yours before printing it on a desk card; ask us and we will tell you. And it is genuinely different from a transfer that merely ends up in voicemail because nobody answered, a distinction we untangle in our write-up on common 3CX voicemail questions and issues.
One-touch transfers with BLF keys
This is the front-desk power move, and why we spec expansion modules for reception. A Busy Lamp Field key is a button bound to a colleague’s extension. It does three things: shows whether they are free, dials them in one press, and, while you are on a call, transfers the caller to them.
The setting that matters is which kind of transfer that press performs, and it is a per-user choice rather than a per-key one. In the 3CX client it sits under the user’s IP phone tab, in Phone Options: blind transfer, or attended (consultative) transfer. Pick one per person and stick to it. A receptionist who believes the key announces the call, on a phone set to transfer blind, will strand callers all day and never know why.
One note that saves a support call: phone configuration changes take effect within 24 hours by default, so reboot the handset if you want the new behaviour now. That, plus putting the ten people reception actually transfers to on the top ten keys, is part of any 3CX phone system deployment we run.
What the caller hears
Callers ask and staff guess. On a desk phone the caller goes on hold the instant you press Transfer, so both types begin identically from their side: hold music. If no music on hold is configured, that is silence, and silence makes callers hang up thinking they were cut off.
Then they diverge. A completed blind transfer hands the caller over, so they hear whatever the destination presents next: ringing, a queue greeting, a voicemail prompt. In an attended transfer they stay on hold throughout your side conversation, so keep the announcement to one sentence.
3CX transfer not working? Quick diagnosis
Not every failed transfer is user error, and assuming so wastes retraining. Three patterns cover nearly everything we see.
- The call bounces back to you. Usually deliberate. 3CX has a transfer-back-on-busy option that returns a blind-transferred call to whoever sent it when the destination is busy, rather than following that extension’s forwarding rules. A returning call is the system working.
- The destination is on Do Not Disturb or logged out. The call does not vanish; it follows that extension’s forwarding rules for the status they are in, usually voicemail. From the front desk it looks like a failure. It is not. The caller landed where that user told the system to put them.
- “Call Transfer Failed” on an external number. Almost never the receptionist. Transfers to outside numbers leave through a trunk, and if the outbound rule or the trunk’s call-handling options are not set up for it, the transfer is rejected and the phone says so. The tell is that internal transfers work perfectly and only external ones fail. Stop retraining staff and send it to us; it belongs with the phone system config bugs we wrote about earlier.
The cheat sheet
Print this page and tape the table to the desk. Everything above, in one grid.
| Device | Blind (no announcement) | Attended (announce first) | Straight to voicemail |
|---|---|---|---|
| Yealink T54W / T46U | Transfer → extension → B Transfer | Transfer → extension → OK → announce → Transfer | Transfer → *4 + extension → B Transfer |
| Yealink T33G / T33P | Trans → extension → B Trans | Trans → extension → OK → announce → Trans | Trans → *4 + extension → B Trans |
| Web client (browser) | Transfer → name or extension | Att. Transfer → name or extension → announce → Join | Transfer → *4 + extension |
| Windows app | Transfer → Blind Transfer → name or extension | Transfer → Att. Transfer → name or extension → announce → Join | Transfer → Blind Transfer → *4 + extension |
| Android app | Transfer → Blind → contact | Transfer → Attended → contact → announce → Join | Transfer → Blind → *4 + extension |
| iOS app | Transfer → Blind Transfer → contact | Transfer → Att. Transfer → contact → announce → confirm | Transfer → Blind Transfer → *4 + extension |
| BLF key (any desk phone) | One press. Which type it performs is set per user under IP phone → Phone Options. | Not applicable | |
Before you print it, confirm two values with whoever administers your system: that *4 is still your voicemail prefix, and which transfer type your BLF keys perform. Those two vary between installations, and a cheat sheet wrong about either is worse than none.
Agents who take most of their calls from a queue should also know how queue login works, because a logged-out agent looks like a transfer problem from the outside: see how to log in and out of a 3CX queue.
Send this to your next new hire
Transfer training never gets scheduled and always gets improvised at the desk on someone’s second morning. We would rather do it properly. Email support@telnamix.com and we will run a short transfer-training session for your team and send you a standardised procedure written against your own configuration (your dial codes, handsets and BLF layout), so everyone answering your phones does the same thing.
If your transfers are failing rather than confusing, tell us which ones break and on which devices, and we will look at the trunk and extension rules behind them. It is everyday work on the hosted phone systems we run for clients, and usually a configuration change rather than a training problem.