3CX Voicemail Questions & Issues:
Setting Up Your Voicemail:
Note: The dial-in number for voicemail may be “999” or “9999” depending on the number of digits in your extension. For example, a system that uses extensions like 103, 104, 105 would dial 999, whereas those with 1003, 1004, 1005 would dial 9999. You can configure your voicemail by dialing the appropriate number or hitting the message button on your phone. Once connected to voicemail, you will be presented with the voicemail auto attendant interface. This feature will then present you with a voice menu system which announces the voicemail options and allows you to dial a key to access and manage those options. The initial options you are presented with are the following:- Dial * to play your messages.
- Dial 9 to go to options.
- Dial pound(#) to exit.
- To Configure Your Voicemail, Dial “9”. Here Are the Options:
- Dialing “1” allows you to change your profile status.
- Dialing “3” allows you to dial a number.
- Dialing “4” allows you to delete all read messages.
- Dialing “5” allows you to change your self-identification message (spoken name).
- Dialing “6” allows you to play mailbox information.
- Dialing “7” allows you to change your voicemail PIN number (which will be reflected in 3CX Management Console).
- Dialing “8” allows you to change your voicemail greeting.
- Dialing “9” allows you to restart the voice menu’s prompts.
Checking Your Voice Mail from Any Company Phone
To check your Voice Mail from any company Phone, i.e., not your own extension:- Pick up the handset and dial “9999”.
- Press “#”.
- You will be asked to enter your extension number.
- Type your PIN and then press “#”.
- Follow the voice prompts to check or delete your voicemails.
Changing Your Voicemail PIN
To change your voicemail PIN, follow these steps:- Dial the voicemail extension listed on your welcome email. In most systems, this will be 999, but it may vary depending on your extension length. Alternatively, if you have a physical phone on your desk, you can press the voicemail or message button.
- When prompted, enter your current PIN followed by “#.”
- Press 9 to access Options.
- Change your PIN by pressing 7, and then follow the voice prompts to enter and confirm your new PIN.
- When done, press “#” to return to the main menu or simply hang up. If you encounter any issues while changing your PIN, please don’t hesitate to contact [email protected] for assistance.
Transferring Calls Directly to Voicemail
To leave a message in a Voicemail box of a particular Extension: Dial *4{ext} For example, *41000, will leave a voicemail message in the voicemail box of extension 1000. Note: This process may vary depending on the extension length. Make sure to adapt the format to match your internal settings.Not Receiving Voicemail Notifications via Email
Most customers rely on Telnamix mail servers for their voicemail notification delivery. If they are not receiving emails, they should reach out to their IT provider or Internal admin as well as us at [email protected] so we can verify that messages are sending as they should. It is more than likely that the messages are going to spam, and telnamix.com may need to be whitelisted within their email provider.Dial by Name Directory and Voicemail Setup
Often customers will want a dial by name directory, but they don’t understand why their extensions or users are not appearing in the directory. All users that wish to appear in the dial by name directory must dial into the voicemail menu, press 9 for more options at the main menu, and then record their spoken name or self-identification message by pressing option 5. They must also set their voicemail greeting that people hear before leaving a voicemail with option 8. Until those messages are recorded, the dial by name directory will not work. It is important to do these steps after the welcome email is received so that users are fully set up.Voicemail Transcriptions
All Telnamix customers should have voicemail transcriptions enabled by default. They can reach out to us if they are not receiving their transcriptions. As it is included in their plan, there is nothing they need to do other than report an issue, and we will take care of it.Unable to Access Voicemail or Not Receiving Voicemail Emails
Customers should email their in-house phone system admin or reach out to [email protected] regarding access issues. If a voicemail box is locked, support may need to temporarily change the pin to unlock it. Locked voicemail boxes will either unlock after the timeout is reached, or a change of the voicemail pin by an administrator will immediately unlock the voicemail box.Voicemail is Disabled for This Extension Error
If users are hearing a “voicemail is disabled for this extension” error, the resolution for this is to reach out to the phone system admin or [email protected]. The extension’s voicemail box was disabled and needs to be re-enabled by an admin.
Neil Witherspoon
Latest Posts
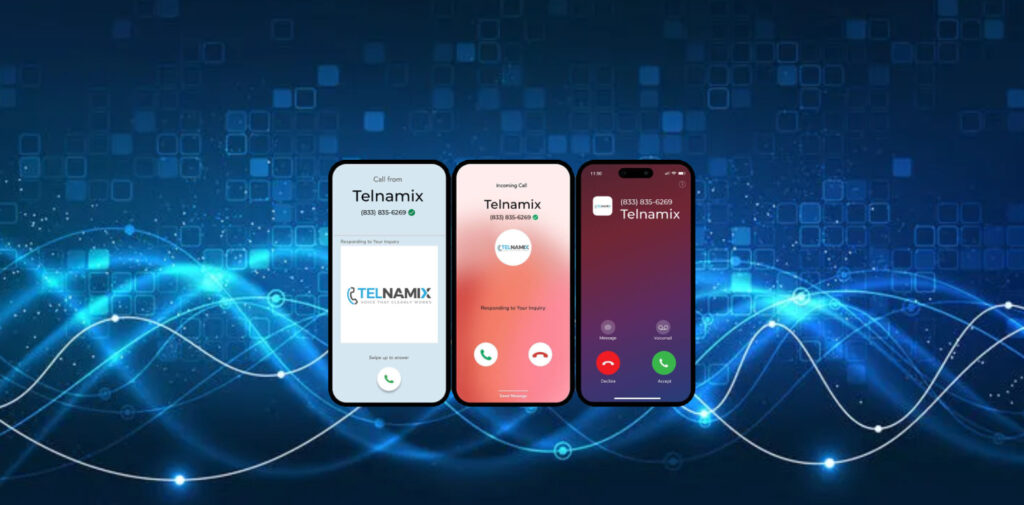
Branded Calling: Get Your Calls Answered
Display your company name, logo, and call reason on your customers’ phones The Problem: Good Calls Looking Like
 By Dee Holton
SIP Trunking 101: A Modern Guide for Business Communications
SIP Trunking 101: A Modern Guide for Business Communications At Telnamix, we know that business communication is changing

Yealink and Microsoft Partner on MDEP: Elevating Secure Collaboration
Yealink and Microsoft Partner on MDEP: Elevating Secure Collaboration In today’s fast-paced hybrid work world, organizations need trustworthy,
No results found.